It’s finally March! Which, in Georgia, means it’s time to start your tomato seedlings to get them in the ground for the summer! This will be my first year planting tomatoes, and my first time starting seeds indoors. I had lots of questions to begin with but the process was more straightforward than I thought!
Choosing Your Tomato Variety
I knew I wanted to plant tomatoes this summer but I didn’t realize there were THAT many different tomato varieties. If you’ve only ever seen tomatoes in a grocery store (like I had, mostly) this new world of abundance can be overwhelming. Beefsteak, heirloom, black, zebra, cherry, and plum are just some types, a few more exotic than others, and they all seem like delicious choices. Since I don’t have much space I decided to only plant one variety and try my best to make them flourish. The main use for my tomatoes is going to be for use in salads and pasta
Since I don’t have much space I decided to only plant one variety and try my best to make them flourish. The main use for my tomatoes is going to be for use in salads and pasta, so those exotic choices aren’t really what I’m going for, although they do look beautiful on Instagram. My favorite one-dish pasta, which I make at least once a month, uses cherry tomatoes which are also delicious in salads so I ended up picking up a packet of Botanical Interests Sweetie Cherry Tomatoes (solanum lycopersicum) that I hope will yield buckets of little tomatoes all summer!
Starting Your Seeds
Soilless Mix
To start off your seeds, you’ll need seed-starting specific potting mix, which is often called “soilless” because the mix comes with no weeds, fungus, bacteria, or insects that can harm the seedlings in their developing stage. Since the plants will be indoors for a few weeks before they’re ready to be moved out, natural predators or competitors to these pests won’t have any access to the plants, and therefore the seedlings would be battling all of these afflictions alone.
I bought a bag of Miracle Gro Seed Starting Potting Mix (which is not sponsored) because it seemed like some standard stuff for a reasonable price. The label specifies that this mix is made mostly of peat moss, perlite, a .03 .03 .03 fertilizer mix, and “wetting agent,” although I still haven’t figure out what that means. Peat moss is a common potting mix ingredient because it’s lightweight and retains water well. Perlite (those little white bits you see in potting or garden soil) is also a common ingredient used to help with drainage, like in my succulent soil mix.
Seed-Starting Containers
Just like tomato varieties, seed-starting containers also exist in several types and materials. I picked up a 4 pack of peat pots which are biodegradable and I heard made moving the plants outdoors later in their growth period easier. With biodegradable pots, you don’t have to pull the plants out of their containers (which can damage the root system) but just place the pots in the ground with the plants.
Other popular container ideas range from recycled egg cartons (which I’ll be trying next) to DIY newspaper cups, plastic cups like yogurt containers, seed-starting specific trays, and anything in between.
Planting the Seeds

I began by adding enough mix to the pots until it reached just below half an inch from the top of the containers. Then I wet the mix thoroughly until the water started running from the bottom of the tray. I placed the seeds in the pots, 2 in each little cup, and then covered the seeds with another 1/4 inch of soil. In order to wet this top layer without disturbing the seeds, I sprayed them with a spray bottle I use to mist my house plants.
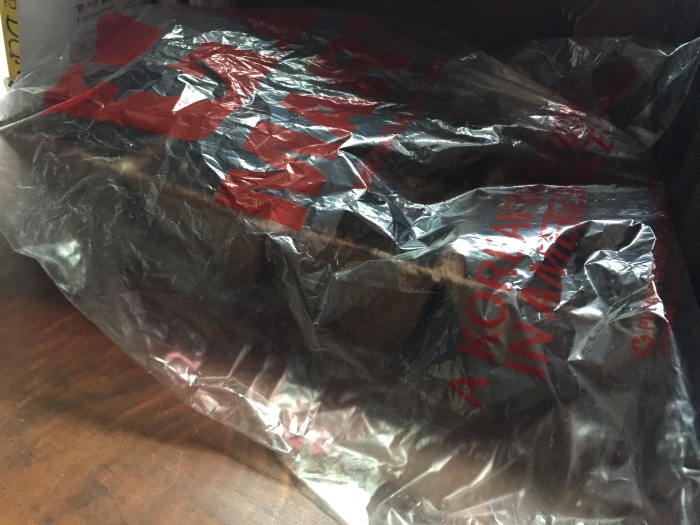
At this stage, the tomato seeds should stay within 70 to 75 degrees to germinate. Since I didn’t buy a seed-starting greenhouse system I wrapped the cups in a plastic bag to maintain the heat and moisture level. I kept the seedlings in my room, which is the warmest place in the house, and away from my mother, who prefers her living space “gardening experiment” free.
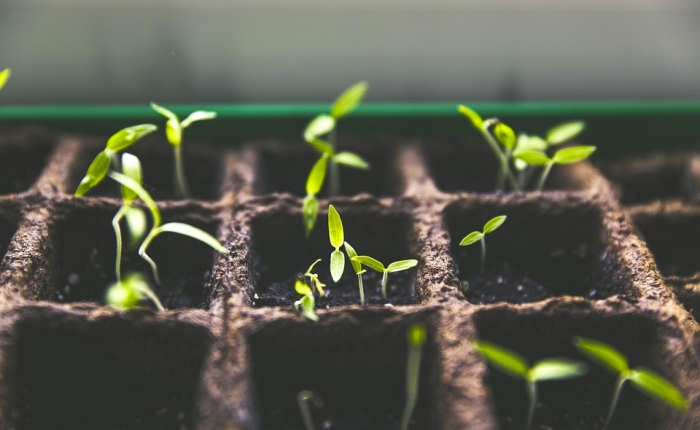
After this, it takes a little bit of patience. The seed packet said that seeds should emerge between 5-10 days but mine came up in 4! As soon as I noticed the seedlings pop up I removed them from their greenhouse environment (I took off that plastic bag) which can contribute to fungal diseases due to the high humidity.
My house gets absolutely no natural light except for two very inconvenience places – the back door which is a high traffic area, and the master bedroom, which is not where I sleep – so a grow light was necessary. Typically indoor seedlings are kept under grow lights anyways because they’re started early in the season and even full natural spring light may not be enough for them to grow in ideal conditions.
As a rookie gardener with not much disposable income to spend on gardening supplies, a $40 grow light or $100 seed starting system was out of the question. I made a makeshift system with a very bright lamp we have. Seedlings should be kept within 2 to 3 inches from the light to avoid growing too “leggy” and weak so I had to improvise with a stack of books to allow the seedling tray to reach the lamp light.


Since taking those pictures I had a tiny issue where a couple of seedlings have died off. I was afraid of the notorious “damping off” disease which is caused by several different fungi and kills entire trays of seedlings that are left in damp or cool conditions for too long, hence the removal of the plastic bag as soon as they emerged. I sprinkled some cinnamon powder which has well known anti-fungal properties on the soil and I try to keep the room ventilated to avoid too much damp.
After posting my issue on the Houzz forum, which is a great place to get your gardening questions answered, by the way, I was advised to make sure the seedlings were getting enough water. Peat pots, although a great biodegradable option, wick up moisture incredibly fast from the soil so they have to be thoroughly watered to allow your seedlings to grow. I’ll be keeping my eye on the remaining seedlings (7, potentially 10) and making sure they’re well watered. Make sure to check out my Instagram for daily updates! I’m looking forward to how these cuties are going to look later this summer!


I am having a small garden this year and need to get started . Thanks for the push
LikeLike
I’m also continuing with a small garden this year! It’s much easier to maintain and help you from getting discouraged I think
LikeLike
yes -my exact thought . I am moving it up front this year so that it can be attend too also.
LikeLiked by 1 person